


Feminine Birthday Card with Teapot
Hello Paper Crafters!! This isn’t typically my type of stamp set, but it brought back my childhood memories of tea parties with my siblings and tea parties with my children. I also thought it was very elegant and perfect for feminine cards. For inspiration I went to Pinterest. As I was scrolling I came across a card designed by Heejung Hunsberger at www.hmadeboutique.com. I really liked it and decided to CASE it. What is CASING you ask? It’s when you take a card designed by someone else and use it as inspiration for your own card design. What I loved about this card was the embossing (my favorite part), the frame and the 3-dimensionality. If you would like to learn more about 3-dimensionality, I found this great site called www.sophia.org. I really enjoyed making this card and am very pleased with how my feminine birthday card with teapot turned out.
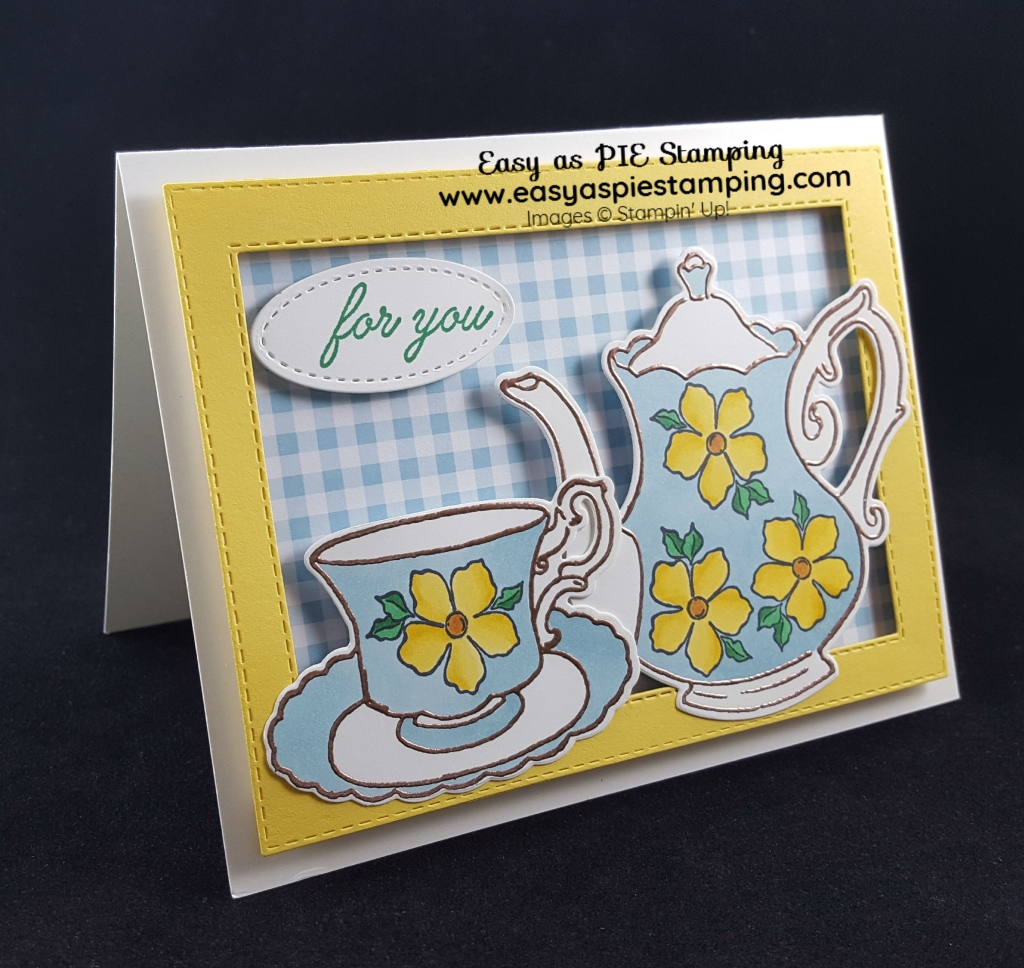
Feminine Birthday Card with Teapot
Sale-a-bration
Would you like to know how you can get the Tea Time Framelits for FREE? With a qualifying order ($100 before shipping & tax), you can earn the Tea Time Framelits in the Sale-a-bration Catalog. It coordinates with the Tea Together stamp set in the 2019 Occasion Catalog. If you purchase the supplies for this project ($202 before shipping & tax) you can earn the Tea Time Framelits plus either 2 level 1 items or 1 level 2 item from the Sale-a-bration Catalog. This is the best time to purchase Stampin’ Up! products because of all the great FREE stuff you can earn.
The Color Palette
Recipe: Paper. Images. Embellishments.
Paper: Thick Whisper White, Whisper White & Daffodil Delight CS & Gingham Gala DSP
Images: Tea Together stamp set & Tea Time Framelits, Balmy Blue & Call Me Clover Stampin’ Pads, Balmy Blue (Lt.), Calypso Coral (Lt.), Daffodil Delight (Lt. & Dk.) & Call Me Clover (Lt. & Dk.) Stampin’ Blends
Embellishments: None
Extras: Block E, Stitched Rectangles Framelits, Stitched Shapes Framelits, Copper Embossing Powder, Foam Adhesive Strips, Dimensionals and SNAIL
Note: You need a Big Shot to complete this project. Watch the video below to find out more about it.
The Video:
The Project:
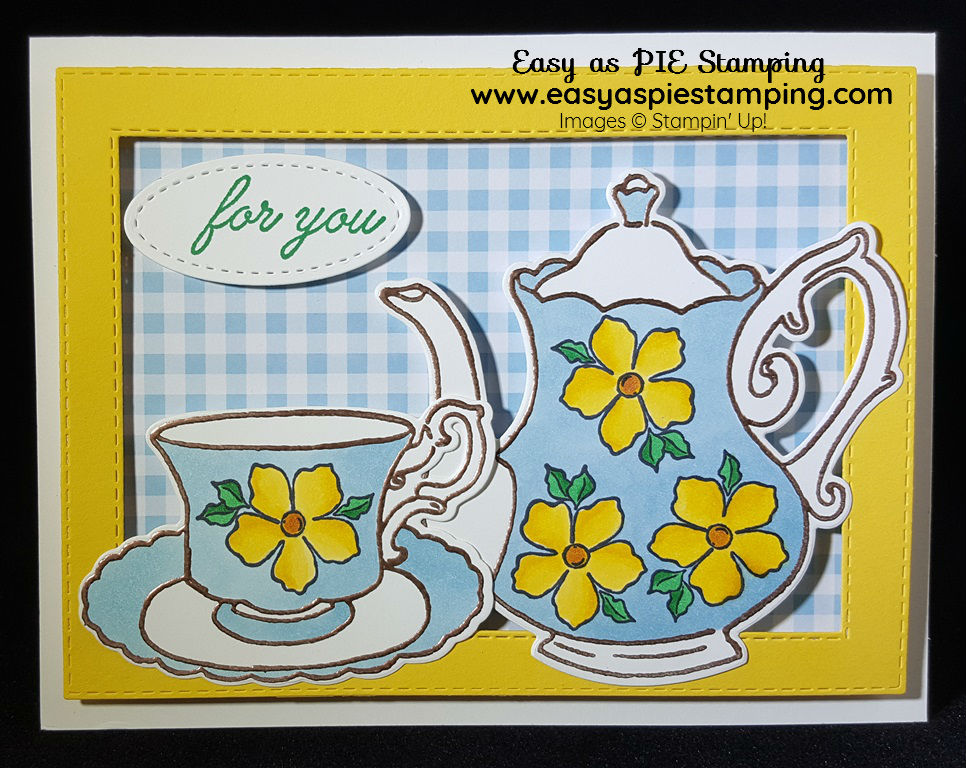
Feminine Birthday Card with Teapot
Step 1:
Cut your pieces.
- Thick Whisper White CS: Cut in half horizontally (5 ½” x 8 ½”), score at 4 ¼”.
- Daffodil Delight card stock: Use largest Stitched Rectangle and 3rd largest rectangle to cut a frame.
- Whisper White CS: After embossing teapot and teacup cut with matching framelits. Use the smallest oval from the Stitched Shapes Framelits after stamping with “for you”.
- Balmy Blue Gingham Gala DSP: Cut 4 ¾” x 3 ½”.
Step 2:
Stamp your images.
- Sentiment: Stamp on white CS and cut out using smallest oval from Stitched Shapes Framelits.
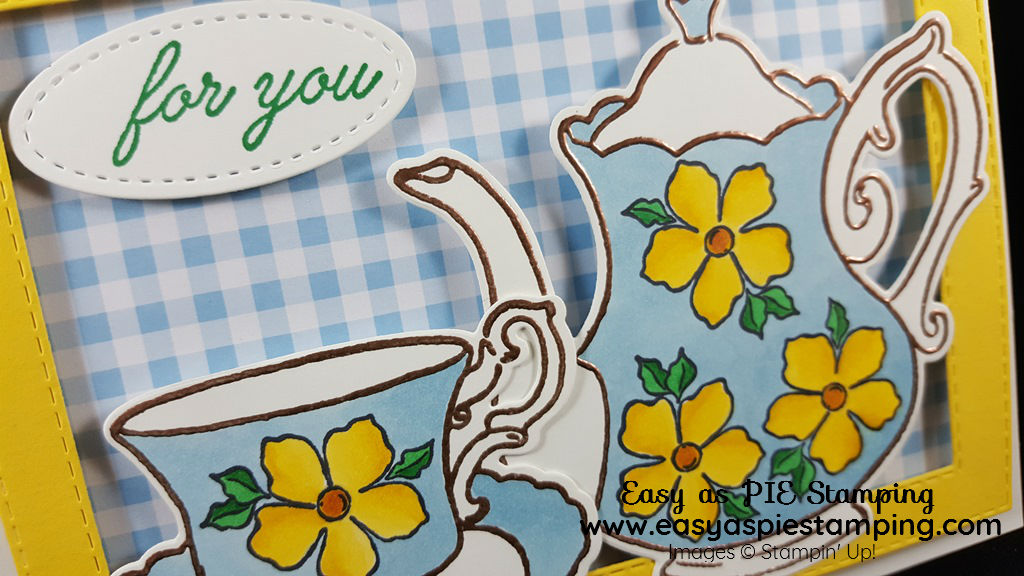
- Teapot and Teacup: Stamp with VersaMark on scraps of white card stock. Sprinkle with Copper embossing powder and use heat tool to emboss.
- Stamp the teapot and teacup with the five petal flower.
Step 3:
Color images.
- Using the Stampin’ Blends to color the images.
Feminine Birthday Card with Teapot
Step 4:
Putting it all together.
- Gingham Gala DSP: Adhere with SNAIL to center of card front.
- Use the Adhesive Foam Strips to completely line the back of the Daffodil Delight frame then center onto card front.
- Teacup & Teapot: Use Adhesive Foam Strips to adhere to card front.
- Use Dimensionals to adhere the sentiment to the top left corner.
I hope you enjoyed this tutorial with the Tea Together stamp set & Tea Time Framelits. I love hearing from you! Please leave me your questions or comments about the project for today.
Visit my Pinterest board Tea Together for more ideas!
Sign up for my weekly newsletter in the sign up box – top right (or at the bottom on mobile).
My project supply list
Click products to shop online!
 | ||
 | ||
 |


 Designer Series Paper")


Visit My SHOP!!
When placing an order in February use host code:
RFTUZKW7
Please join me every week as I share projects using Stampin’ UP! products.
We will have so much fun!
I would be honored to be your personal Stampin’ Up! Demonstrator!!
Happy Stamping,
Lois Avellanet
Creativity Coach


